Email Accounts
In this quick tutorial, you’ll learn how to connect your business email account(s) and start sending mass email campaigns and targeted email messages through Marcom Robot.
Why Connecting Your Email Accounts to the Marcom Robot Automations Platform?
Once you connect your business account(s) to Marcom Robot, you can fully leverage marketing and sales automation. This includes sending mass email marketing campaigns, trigger-based campaigns, and hyper-targeted email messages.
How to Connect Your Email Accounts to Marcom Robot
Organization settings are the key parameters defining your account's overal hierarchy and structure. It’s recommended that you start setting up your account by going through the Organization Settings and making that work best for your business.
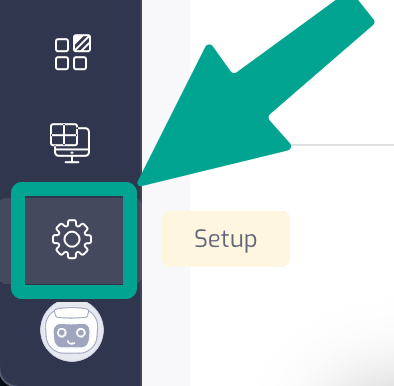
Step 1: Navigate to Setup
Log in to Marcom Robot and click the “Setup” icon in the bottom left-hand corner. A Setup menu will appear.

Step 2: Start Adding Your Email Account
Click the “Email Accounts” section of the “Setup” menu, and then click “New Email Account”or “Connect New Email Account.”
.png)
Step 3: Complete Email Account Details
Fill out the following details. Once finished, click “Create.”
- Name: Full name of the individual or team the account belongs to
- Email Address: The email address of the email account
- From Name: This is what your email recipients will see in the “From” field for the emails sent from this email account.
.png)
Step 4: Verify Your Newly Added Email Account
You’re almost done! You only need to verify your newly created email account, and you’ll be able to start sending emails from it via Marcom Robot.
Click the “Verify” button in the top right-hand corner. We’ll send a verification email to the email address you provided. Please click the verification link in that email to complete the email account verification process.
.png)
Something’s not working out for you? Contact us, and we’ll provide all necessary assistance.


.png)

.png)
.png)
